

Here at Trigard, we are committed to providing educational resources to not only industry professionals but also to anyone who is interested in learning more about the funeral service.
This month, we are going to give you an inside look at how a ground burial is set up for a graveside service.
This important responsibility falls mostly upon the burial vault dealer. You will soon learn that the interment setup requires expertise, experience, and attention to detail.
The video and step-by-step guide provided below will walk you through the burial site set up process from start to finish.
Please keep in mind that not all burial vault dealers follow the exact same method. Our goal is to give you a general idea of how a site is prepared.
Step 1: Unloading the Vault
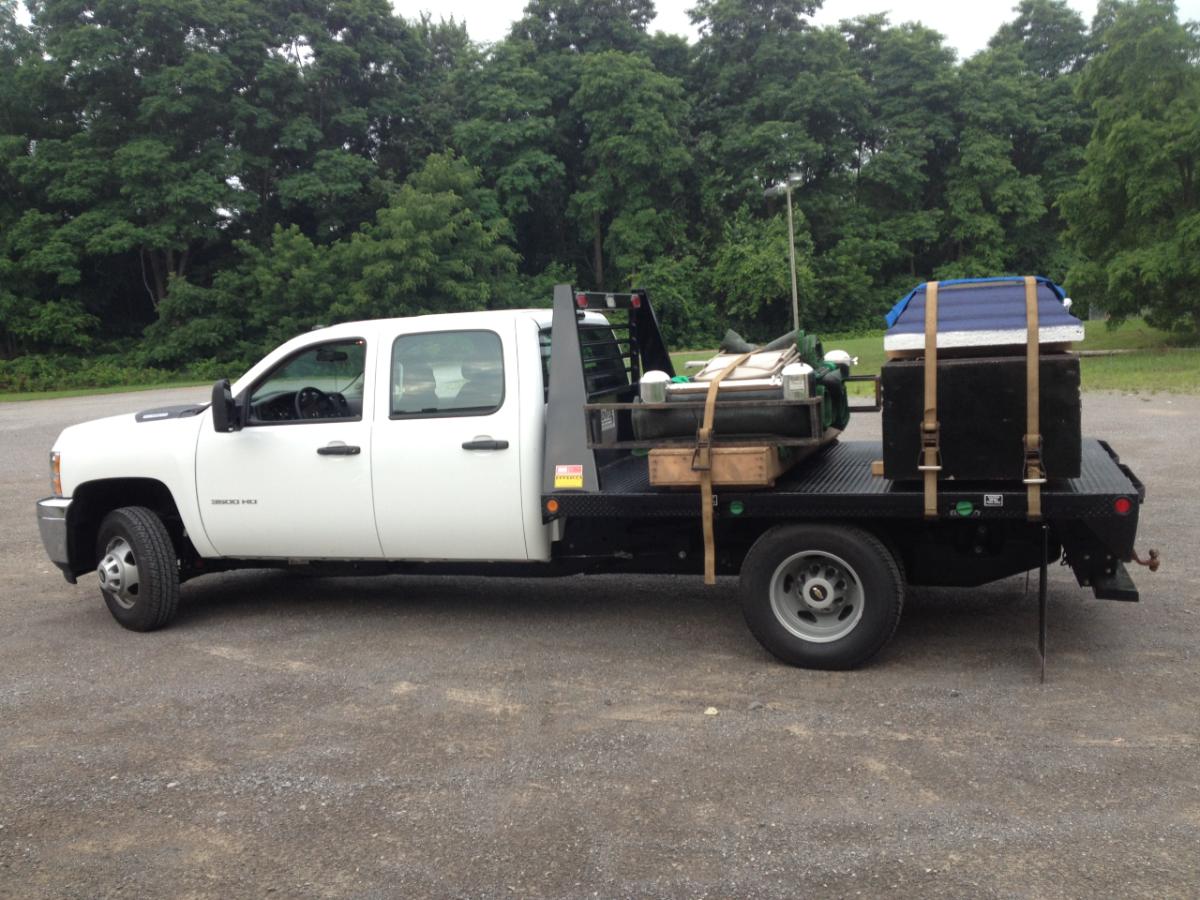
On the day the video was filmed the vault truck arrived approximately 2 hours before the scheduled start of the service.
After confirming the location of the grave space, the installers detached the handling cart holding the vault and walked it over to the burial space.
Step 2: Preparing the Burial Site
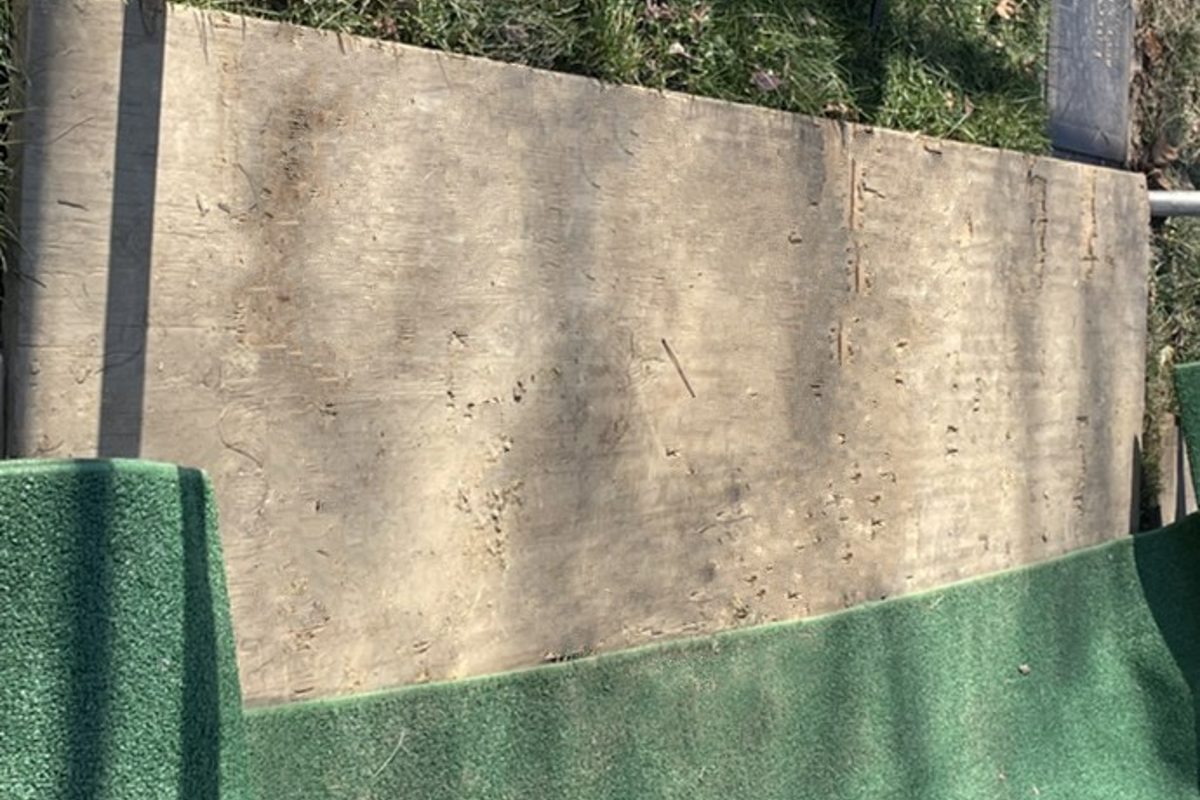
They quickly got to work preparing the grave. For safety purposes, they first surrounded the space with four sheets of plywood.
Wood planks were positioned around the perimeter of the grave and two vertical planks were laid across the opening to evenly distribute the weight of the vault.
The installers also used wood blocks to elevate the planks so they were level with the slope of the ground.
Step 3: Transferring the Vault
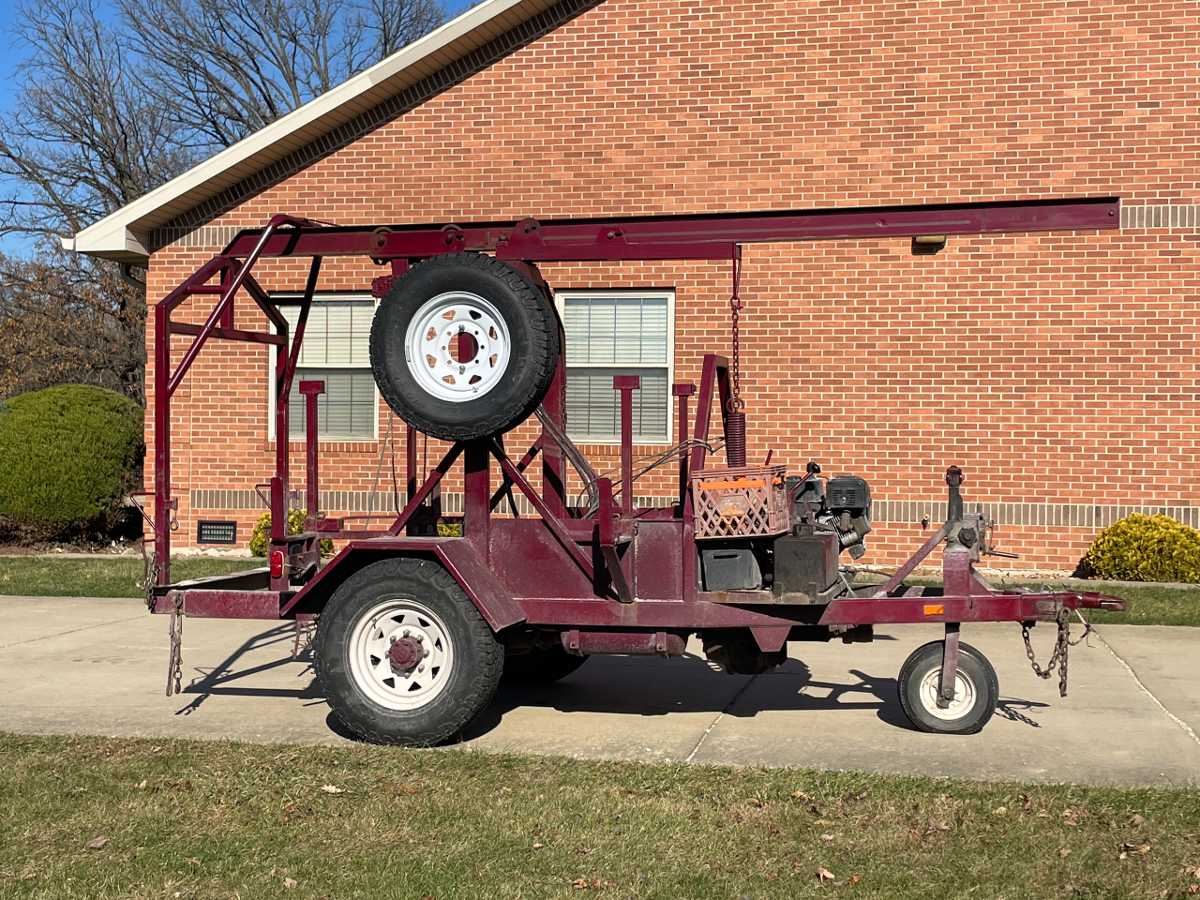
Once the grave space was secure, the vault handling cart was pulled to the head-end of the grave.
Guided by the installers, the cart’s hydraulic crane then transferred the suspended vault and aligned it to the grave.
Step 4: Positioning the Vault
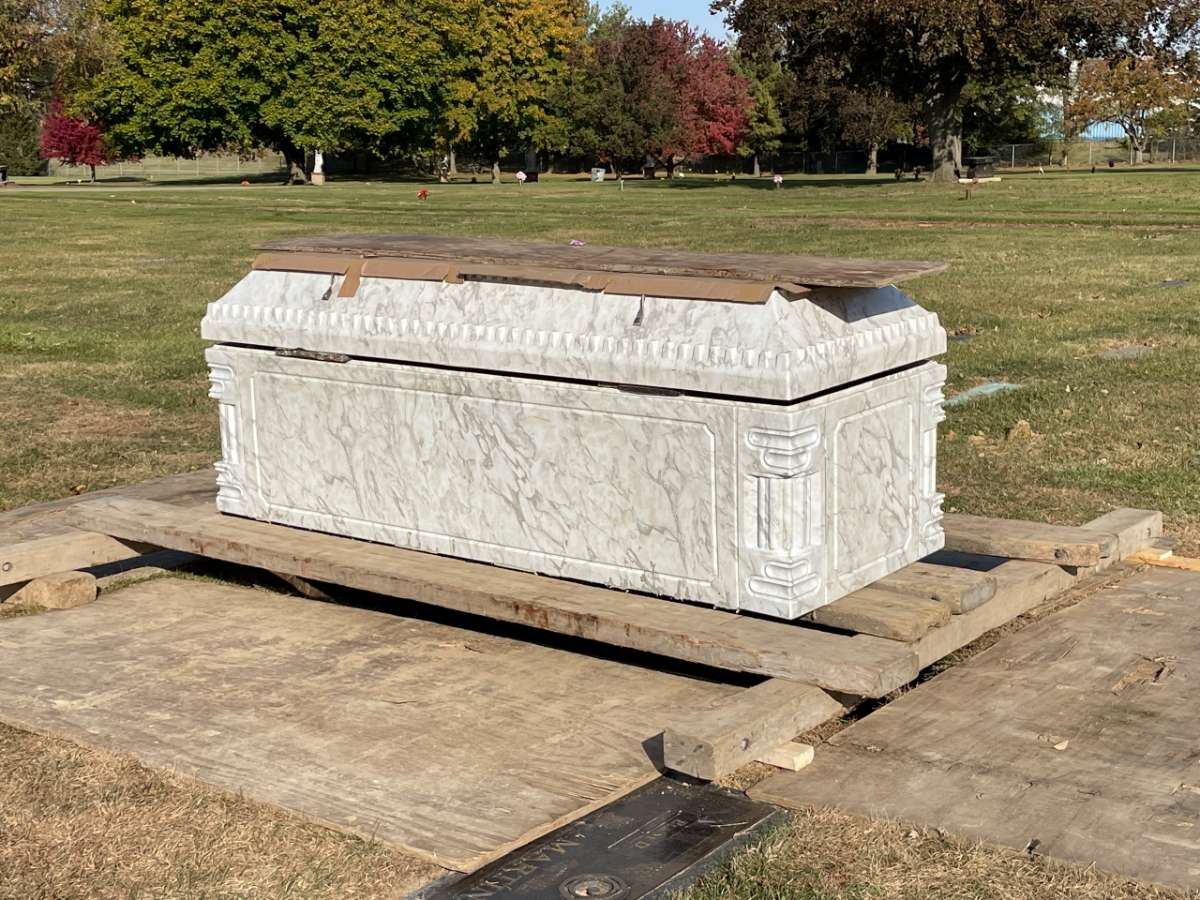
After slight adjustments were made to the position of the vault, it was lowered onto the center planks and released from the crane.
The handling cart was returned to the truck to ensure there was adequate space to finish the set up.
Step 5: Assembling the Vault Lower Device
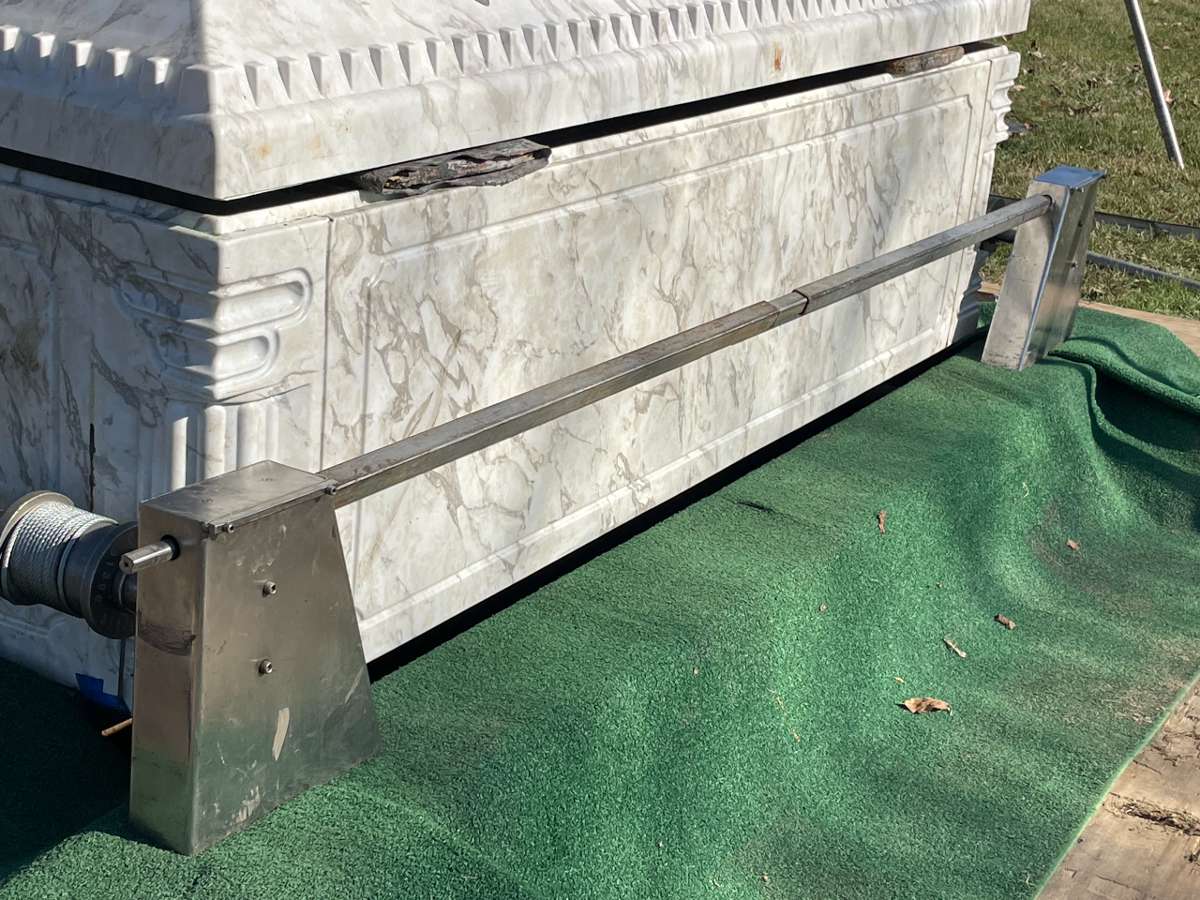
At this point, the vault lowering device could be put together.
Metal footings were placed at each end of the grave and connected with metal arms. The platform that would support the casket was attached making it possible for the center planks to be removed.
Using the lowering device’s crank, the vault was lowered several inches into the ground.
Step 6: Setting Up the Tent
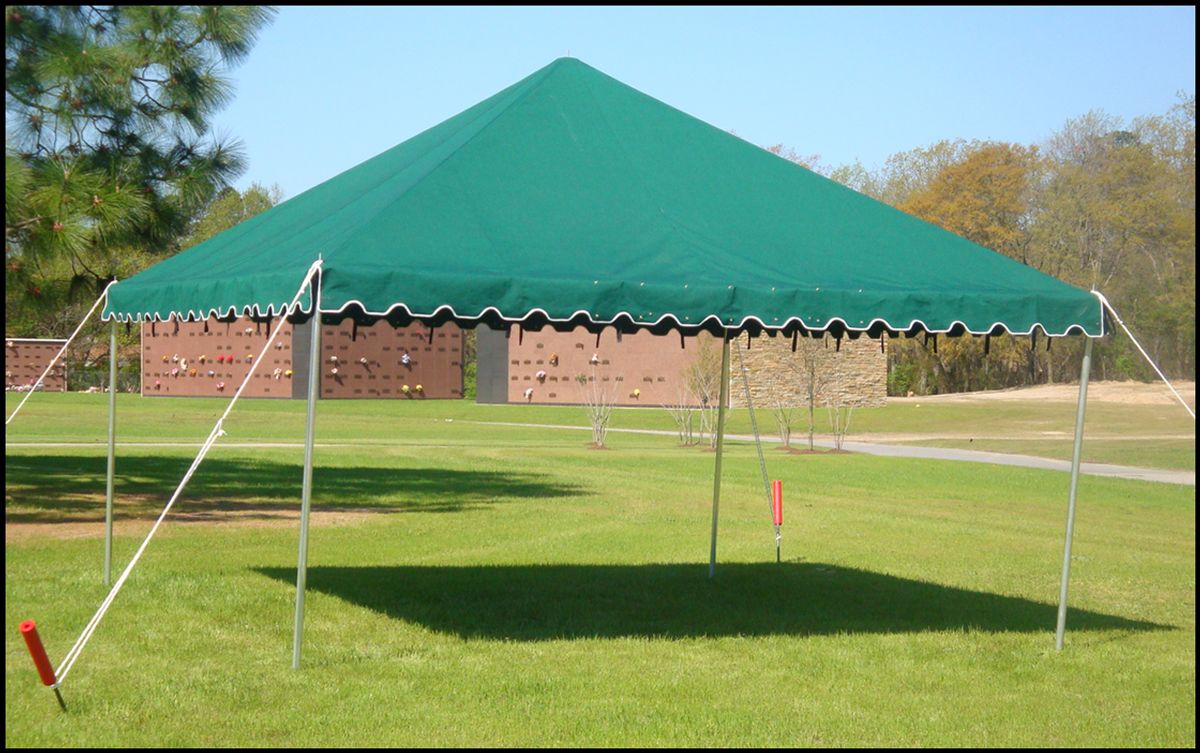
The installers then began putting up the tent. After laying out the corner posts, they assembled the aluminum framing and attached the canopy.
Once the tent was up, they double checked that all of the straps, pins, and hooks were secure. This took approximately 20 minutes to complete.
Step 7: Installing the Casket Lowering Device and Dressing the Site
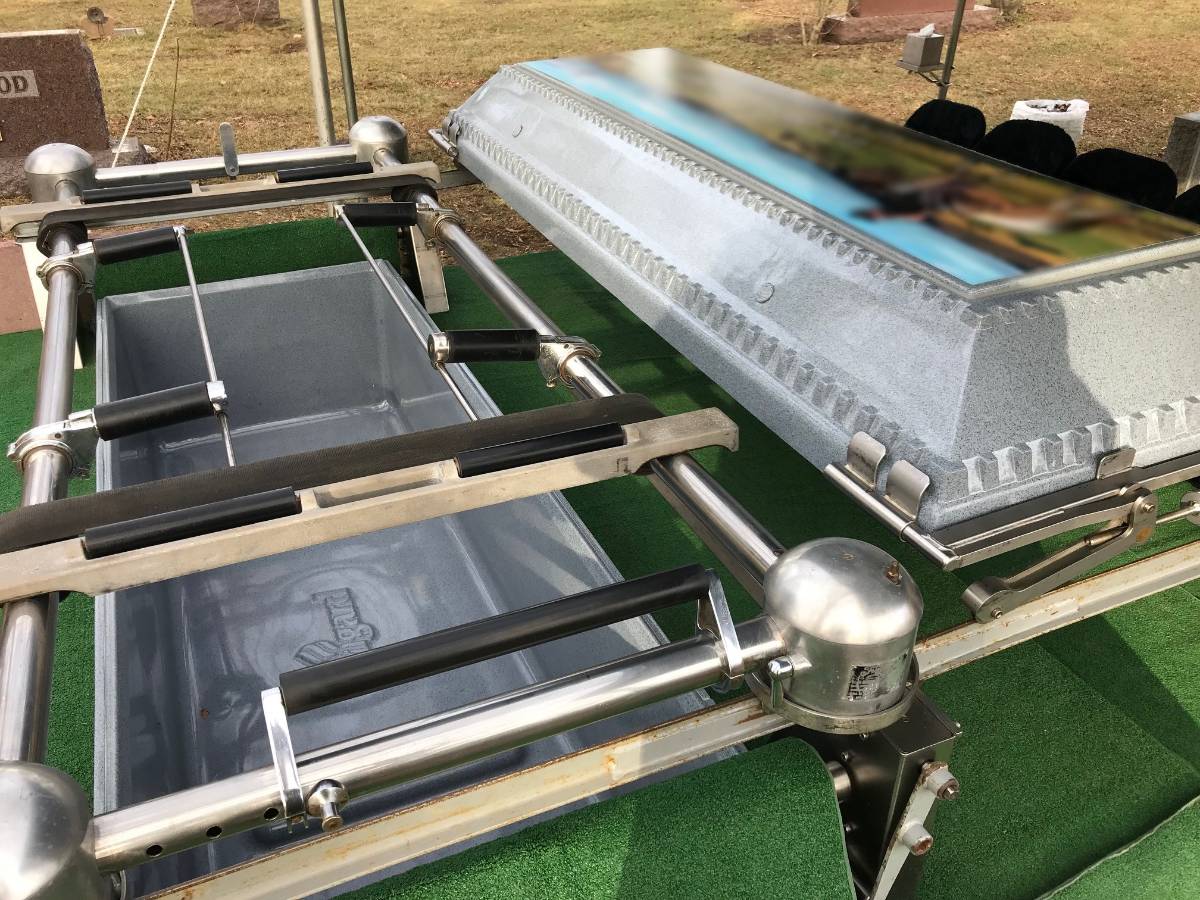
Several measures were taken to ensure the setting was aesthetically pleasing. Artificial turf was laid to cover the ground and to hide a good portion of the lowering devices’ metal components.
Twelve chairs with velvet covers were placed atop the greens for the immediate family and those who may not have been able to stand for the service.
After the casket lowering device was fully installed, the burial vault was thoroughly inspected and wiped down in its entirety.
Until Next Month
You have now witnessed all of the preparation that is involved in creating a comfortable setting for a family to say a final goodbye with dignity and respect.
If you were not familiar with how a ground burial is set up prior to watching this video, you hopefully have a newfound appreciation for the time and effort that goes into the process.
A special thanks to Forsyth-Puttmann Burial Vaults for allowing us to shoot video of the cemetery set up. It is always a pleasure to work with your staff.
And thank you for taking the time to check out this month’s blog. We invite you to share your comments below and welcome any questions.


2 Responses
Is it waterproof ?
Thank you for sharing your question with us! The Trigard lined burial vaults, are designed to protect the casket space from exposure to outside elements including water. Please feel free to reach out again if you have any additional questions.